Wednesday, June 29, 2022

Bloody Big Battles: Langensalza hex map

I have a confession to make – when I started this blog, I envisioned it basically as an after action report log, with the occasional intermission being represented by reviews and home rules. However, I quickly realized that producing readable battle reports is something I basically loathe. First, it’s just a ton of work – I understand it must be fun for the fine people whose blogs I enjoy reading, but to me it just feels like work, and I prefer using my precious gaming time for something else. Second, you have no guarantee that when you actually sit down to take notes and photos of a game, it will produce a remotely interesting course/outcome, and there is a very real chance of starting from scrap again and again. Third, and perhaps most important, the whole level of extra attention needed to remember taking photos, being able to trace back the history of units moving and taking hits (or whatever the rules call for) at each point in the game, etc etc just ruins my enjoyment of the game ‘in the moment’.

On the other hand, I feel that some of the content I keep producing for my ultra-compact, highly utilitarian games might prove useful to fellow wargames “with limited time and space”, as Mr. Thomas puts it. I have tons of maps, unit labels, etc etc in my hard drive that I’ve never shared with anyone, because they were originally intended to be premièred as part of hypothetical after action reports that will probably never be. So I decided that from now on I’ll just share the tools I put together to play a game (or series of games), glossing over the outcome of my actual replays only briefly, if at all.

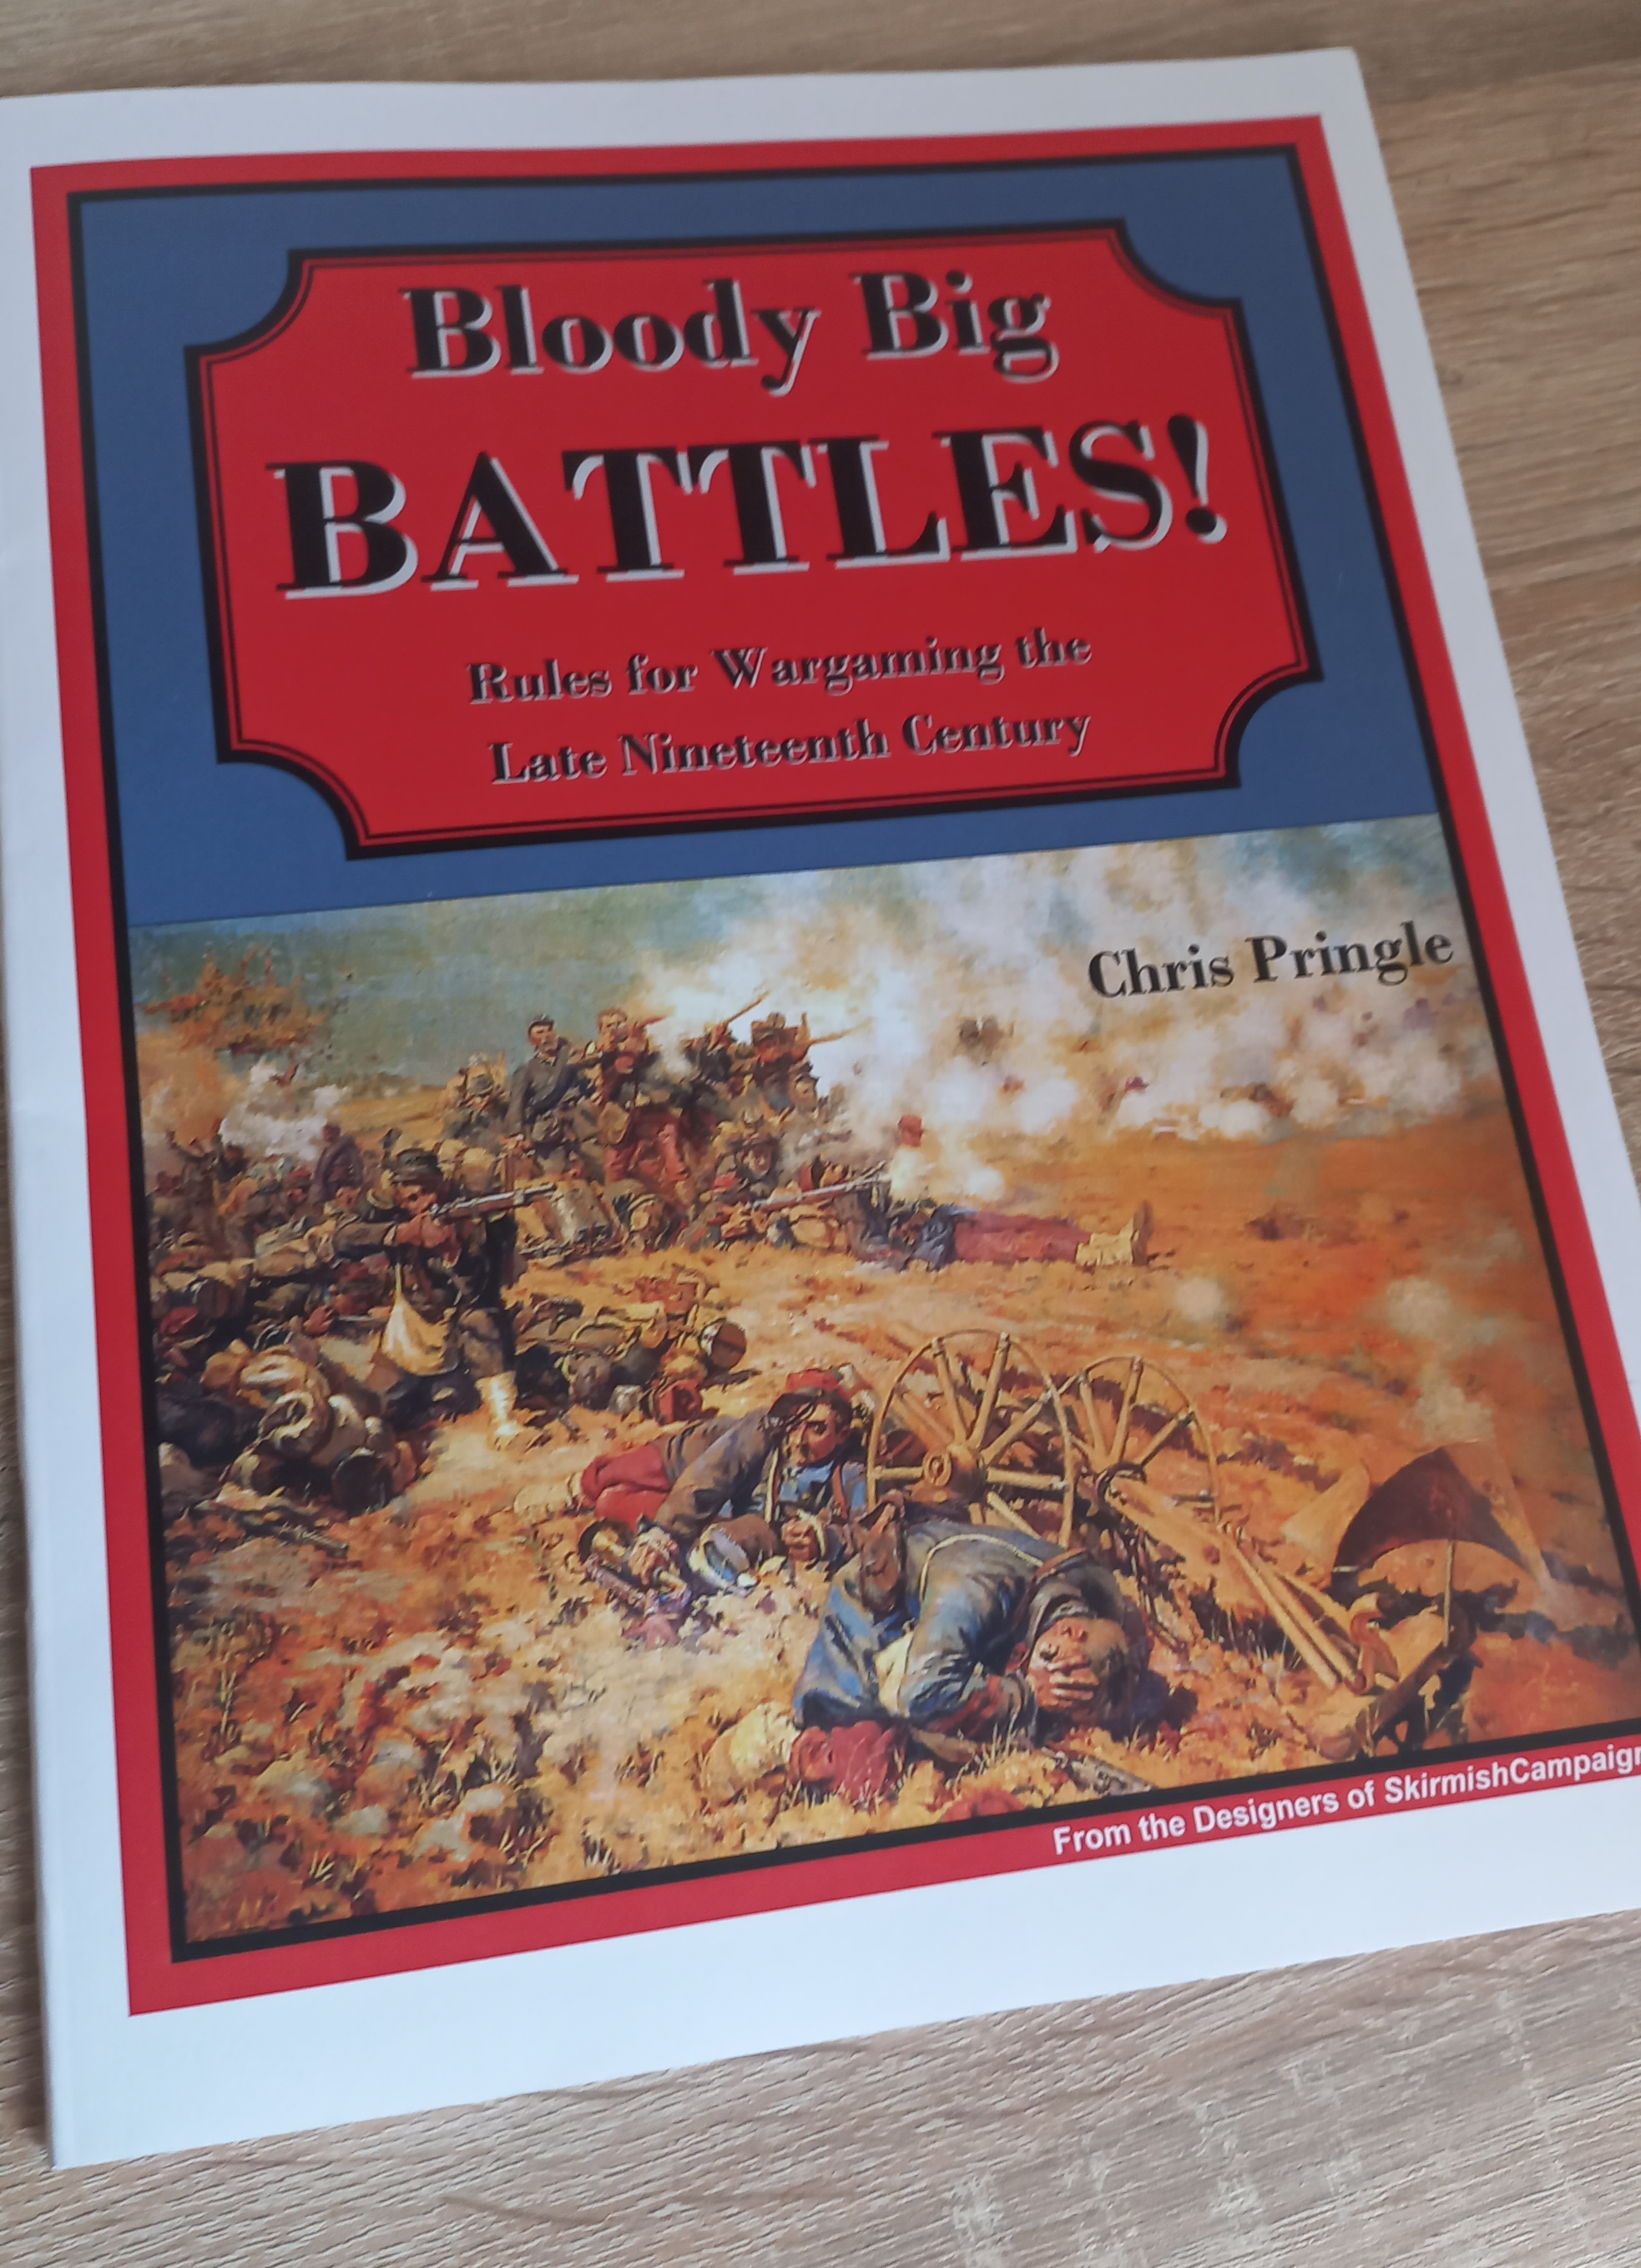
I’ll start with Bloody Big Battles [link], a game you really should try sooner or later if you’re remotely interested in 19th century warfare. One of the most recommended novice scenarios is Langenzalza 1866 [link], the third or fourth battle in history being fought on the same approximate spot, and the first documented involvement of Red Cross medical personnel in a combat mission (useless trivia mode off). It’s a smallish engagement in BBB, involving a total of less than 30k combatants. It can be fought on a 4’x4’ table with the 1” square bases recommended in the official rules; a map roughly half that size would probably suffice to play it with Kriegsspiel blocks [link]. But if you’re into ‘awfully limited time and space’ gaming like me, you can try using wooden microblocks [link] on this map:


This hexed version is totally superimposable with the original scenario map, which is in turn 100% superimposable with period maps.

Your blocks/counters should be large enough to fit in either one or two hexes, depending on your preferences. If your main goal is to have units with realistic historical frontages, then they should only occupy one hex on this map. However, if your goal is to transpose the official rules onto the grid as closely as possible, you should use units with a two hex frontage when deployed in line (except artillery). I did the latter, using the same movement/shooting conventions I jotted down for One Hour Wargames here [link]… Fire and move distances are basically measured in the same way in OHW and BBB.

I’ve also prepared a playsheet with the map and the OOBs: just print it on A3-sized paper (I gather it’s called ‘Ledger’ in the US?), then cross out losses instead of removing individual bases, as suggested by the author himself in the rulebook. You can also conveniently keep track of turns/hours with the checkboxes at the bottom.

The playsheet in all its glory.

You have no excuses now: try BBB and be a convert.

[Edited to add: here is the pdf of the playsheet]

Tuesday, June 7, 2022

Bloody Big Battles! - First Impressions

 Quick summary: you should be buying it right now.

A few weeks ago I fortuitously stumbled upon several references to Mr. Chris Pringle’s titular book. All of them reported excellent things about the game, which of course piqued my interest. The main aspects which enticed me were:

-           Replay of historical engagements in their entirety

-           No bathtubbing – historical OOBs are what they are

-           No scale distortions – scenario maps are 100% based on historical maps

-           Quick, abstract rules

So in the next few days I started perusing the author’s excellent blog and was pleased to discover that his wargaming preferences resonate a lot with mine. I was sold: I ordered the book via North Star military figures (impeccable service!) and a few days later I started studying it obsessively as I always do 😊

The rulebook in all its glory. A coffee table book is it not - which I confess is a plus for this grognard.

My first impressions are nothing short of enthusiastic. A few highlights:

-           BBB uses the most elegant/realistic/functional incarnation of the dreaded ‘roll to move’ mechanic found e.g. in many of Mr. Rick Priestley’s games. I’ve always found this type of mechanism somewhat irritating in its typical Warmaster, Blitzkrieg Commander, Black Powder, etc etc implementations. In said games, even elite units do sometimes sit totally idle for whole turns in a row, hypothetically modelling friction. While the premises and goals are similar, in my opinion BBB does this a lot better by making movement roll results both more nuanced AND more reasonable. Excellent!

-           The basic mechanisms seem to be broad and abstract (in a good sense: read this) enough to cover the 19th century in its entirety even if they are mostly targeted at its second half. Me - I’d happily play any Napoleonic battle with just them, but perhaps I’m just an unrefined simpleton. Further characterization of units is optionally provided by a few special ‘add-on’ rules which totally make sense on paper. These give BBB some more ‘chrome’ with respect to, say, Pub Battles – a game with very similar premises but an even broader-brush approach (for the record, I like both).

-           Scenarios are outstanding. Maps are totally accurate and (to the best of my knowledge) OOBs are too. Objectives provide an easy win/lose metric but (most importantly) seem to allow for a multitude of viable battle plans. Reading these scenarios makes me want to play them *now*!

Are there any weak points? Well, given how much I like this game so far I wouldn’t call them ‘weak’, but possibly ‘less strong’. The following are

-           As with 99 rulesets out of 100, I think one extra round of proofreading/streamlining/chart rewrite could have served the game better. I had to write down an extended turn sequence summary in order to wrap my head around how silenced/low ammo/evade moves interacted – only to discover that it was done before in exactly the same way (link). The rules also state that generals are ‘reactivated’ after becoming casualties in previous turns, but I couldn’t find any further explanation beyond this. [Note – the author answered this question here].

-           In contrast to several other rulesets, BBB handles defensive fire in a way that I might describe as ‘retroactive’ – that is, you don’t stop moving units when they come under fire, but rather complete their moves only to later check if they could have come under fire at some point. I really can’t understand the merit of doing this as opposed to the more traditional method of just shouting ‘gotcha!’ while the opponent is moving units, and it seems I’m not alone in thinking this (link).


All scenarios are real battles based on historical maps, dates and OOBs. No bathtubbing whatsoever. If you like games that give you like 12 riflemen shooting at a barn and call it 'Waterloo', this is not for you.

-           If you are reading this blog you might know I’m obsessed with ground scales, and BBB is definitely better than your average miniature ruleset in this regard. In fact, I think it’s in the 99th percentile of ‘ground-scale accuracy’. For example, at Froeschwiller (where 12” = 2000m), 1000 infantrymen occupy a frontage of 1” = 167m, which is a very reasonable estimate of the frontage they would have covered If they were all deployed in triple line. Of course the rules do not assume all bases to be formed in triple line all the time, the rigid frontage of a base representing more a ‘maximum width’ rather than an accurate depiction. But I think that’s the best you can do given the physical limitations of playing with rigid miniatures/bases/blocks and the like. Also, the estimate ‘maximum width = fully linear formation’ is both convincing and fully… in line (ahem) with period manuals. However, whereas this seems very convincing for infantry, I’m more sceptical about cavalry. BBB assumes the same number of men for infantry and cavalry bases on the same frontage, which means that cavalry frontages are most probably significantly underestimated, and concentration of mounted forces made artificially easier. Moreover, while ground/troop scales vary across scenarios, bases always occupy 1” on the table, and this unavoidably creates distortions. At Langensalza for instance, the Hanoverian side has 7-bases units representing 3500 infantrymen on a 7” frontage. Given the scenario map, 7” represent a frontage of 1050m for 3500 men, which seems excessive. All in all, I think these scale discrepancies are due to the practical limitation involved with using figures, and they can be easily amended when playing with blocks on maps! Hooray for the blocks! 😊 In fact, the excellent blog you can find here describes how to play BBB with blocks on a kriegsspiel map, almost exactly as I would do.


...did I mention that scenario maps are really based on historical maps?


My plan is to play a solo test run of BBB using my microblocks on an A3-sized map. Is that a sensible plan? We’ll see!